Coreopsis growing guide
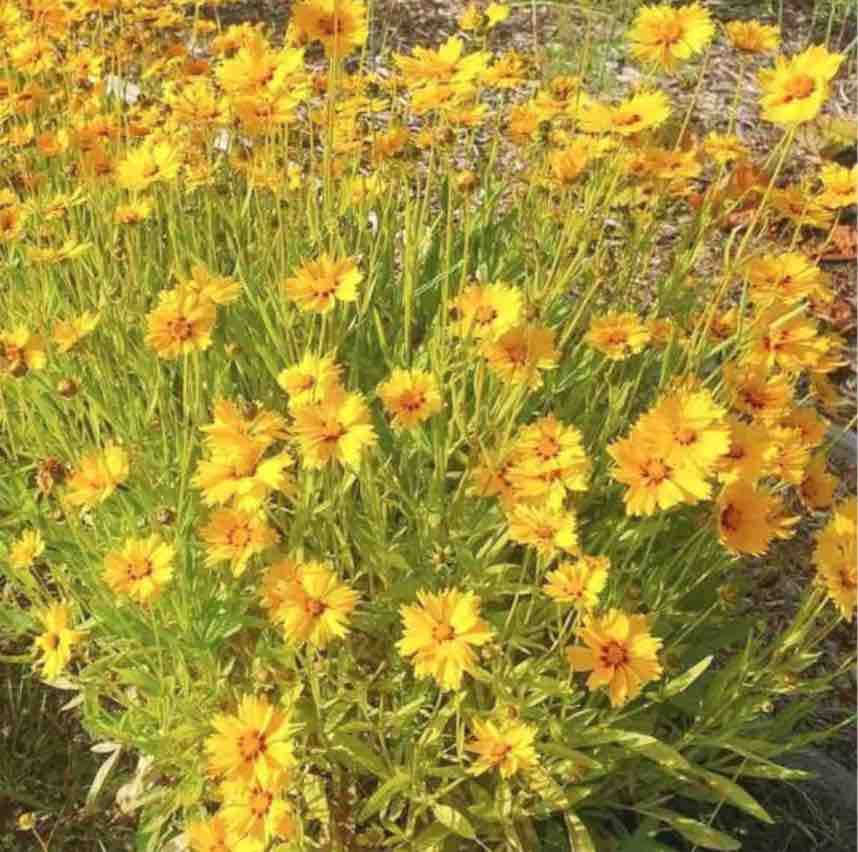
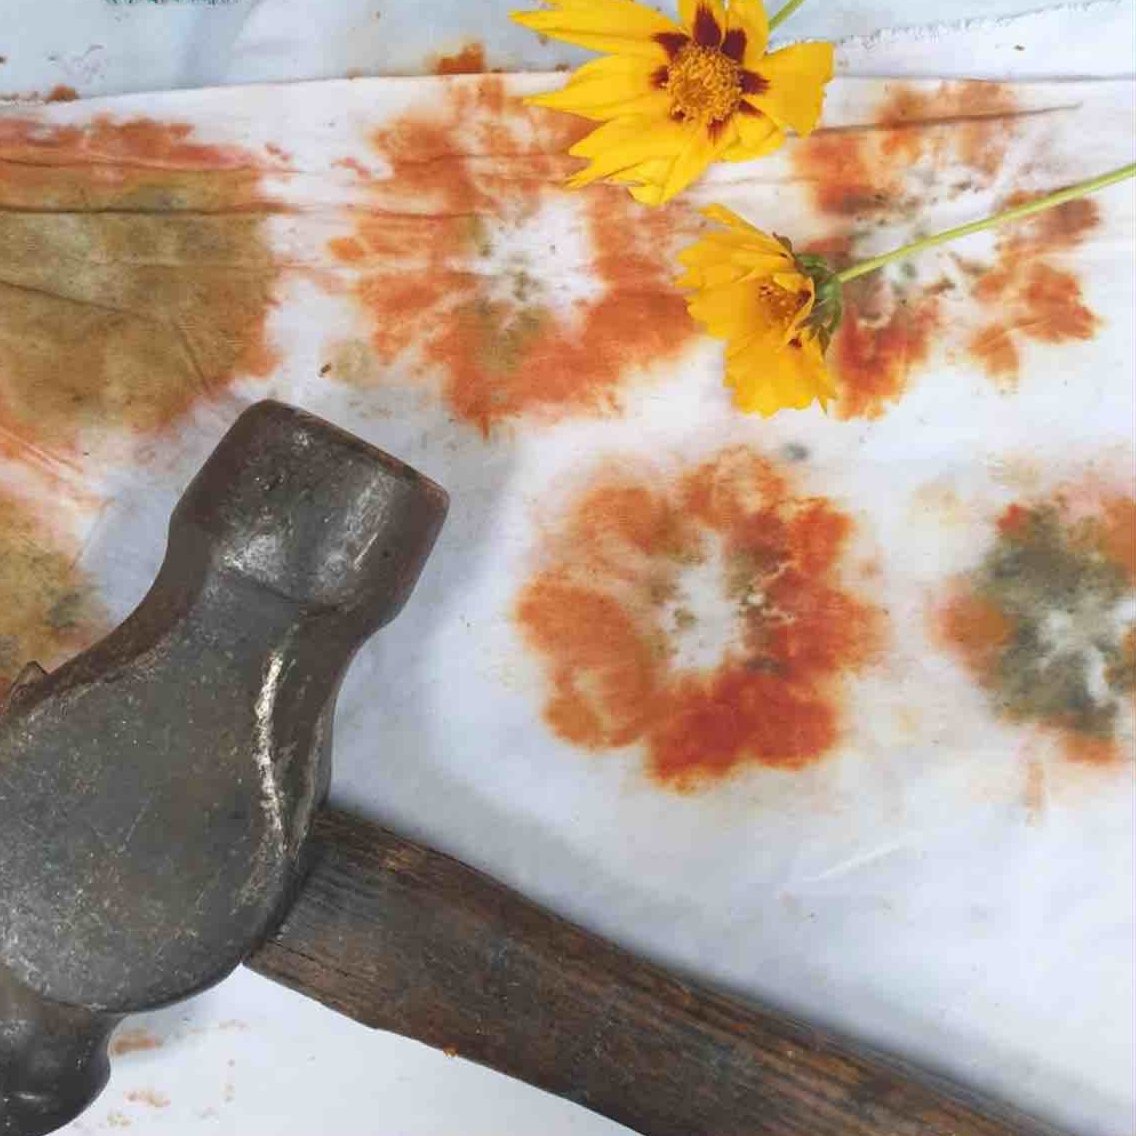
Coreopsis, also known as Tickseed, is one of my favourite dye plants. It’s easy to grow and the flowers are beautiful and bountiful. They are particularly good for hapa zome (hammer printing) and eco printing - all parts of the plant offer dye so you can make some lovely patterns.
A native to the North American plains, Coreopsis loves sunshine and the pretty yellow flower heads will follow the sun throughout the day.
The flowers and plant tops give yellows, ochres and browns in the dye pot.
Sowing
I start my seeds off in seed modules to give them a head-start, as the seedlings are particularly popular with slugs. Ideally start your seeds off around 6-8 weeks before the last frost. This year I’ve sown mine in the last week of March (in London, England), so they will be ready to go outside in May.
Fill a seed module with good quality seed compost and sow a couple of seeds in each module, at 1.5cm depth, and cover with fine soil. Keep moist, cover with a cloche and place somewhere warm and bright such as a sunny windowsill - the ideal temperature to germinate is around 20 degrees Celsius.
The seedlings will emerge in 15-20 days. As soon as they do, make sure they can get plenty of light and remove the cloche to allow airflow, which helps to prevent disease. When the seedlings have grown two pairs of true leaves you can pot them up into 9cm pots, which gives them room to grow a strong root system.
They will need acclimatising or “hardening off” before planting in their final position outside. This is done by moving the plants to a sheltered spot outside during the day for a few days, then bringing them back in at night. This helps to reduce transplant shock in the plant, which can affect the plants growth or cause it to flower prematurely.
Choose a sunny position outside, with well drained soil. When planting out its best to avoid root disturbance by making a hole in the soil the size of the pot. Carefully remove the pot and place the plant in the hole. Coreopsis can also be grown in large pots or containers.
You can also sow seeds directly outdoors in prepared ground from mid-spring to early summer. Seedlings should then be thinned to around 30-45cm apart.
Care
Keep the plants well watered, especially during dry weather as this will prolong flowering and prevent bolting. They grow to around 30-60cm tall.
Harvesting
When the flowers begin to fade I like to gently pull the flower heads from the plant. I prefer to keep the flowers separate from the stems, so find that pulling the flower heads rather than cutting the stems is more efficient and helps avoid accidentally picking the buds. Picking frequently encourages flowering, so its well worth making time for regular harvests.
When the plants have finished producing flowers you can also cut the leafy stems to save for the dye pot. They offer slightly different shades to the flowers.
The flowers can be used fresh or dried, so you can collect the flower heads and store them until you have enough for your dye bath. I like to press them in a traditional flower press too, to make dried flower greetings cards.
Dyeing
Use equal weight of plant matter to fibres for strong colours, though its always worth experimenting with the ratios. Also the colour shifts according to the length of time you simmer the fibres, so keep checking on the fibres during the simmering until you have reached the desired colour. Remember that the wet fibres look a deeper colour than they will once dried, so go a few shades further than you’d like.
Soaking the flowers or plant tops in the dye pot overnight before you start can help intensify the colours. Place the plant material in a large stainless steel pan and fill with water. Simmer for around an hour to release all the dye. When you are satisfied that all the colour has been released, strain the liquid into your dye bath. Add your pre-mordanted fibres and simmer for another 30 minutes to an hour, until you reach the desired colour. Leave to cool then remove the fibres
You can sadden the colour to get greens and dark browns using an iron modifier.