Japanese Indigo growing guide
Japanese indigo is one of the most magical plants you can grow. Hidden within the leaves is a blue dye, a colour which is rarely found in nature. Indigo dye was once so highly valued it was known as “blue gold”.
My favourite way to extract indigo dye is using the fresh leaf method, which gives immediate colour, though there are a number of ways to extract indigo in order to make a powder which can then be stored.
Native to Southeast Asia, its happier growing in temperate regions than true Indigo (Indigofera tinctoria), though isn’t frost hardy so is best treated as an annual.

Sowing
Japanese Indigo seeds are only really viable for a year, so it is important to use seeds harvested the previous year.
In early spring start your seeds off in seed modules filled with good quality seed compost. This should be done 6-8 weeks before the last frost. Sow thinly, lightly cover with compost and place your tray on a bright windowsill. Warm temperatures aid germination so I tend to also cover mine with a cloche until the seedlings appear. Seedlings can take a few weeks to appear, and once they start to grow make sure they get plenty of light so they don’t become leggy.
I like to pot mine up individually into 9cm pots once they have grown a few sets of true leaves, though you can leave them in the cell trays until they are ready to go outside. Once they are around 15cm tall they can be transplanted into their final growing position outdoors, ideally if there is a stretch of warm and sunny weather.
Harden off the plants first by placing them somewhere sheltered outside during the day and bringing them in again at night, or covering with fleece. Doing this for a few days helps to acclimatise the plants, reducing shock.
Choose a sunny position with well drained soil. It helps to work plenty of organic matter into the soil first. The plants can grow up to about 1m tall and branch out sideways so allow them a bit of space, planting them around 30-40cm apart. I find it is best to grow Indigo in a block rather than in rows.
Indigo is also happy growing in containers in good quality peat-free compost.
You can easily multiply your crop by placing fresh cuttings in water. They will start to root within a few days and can be planted straight outdoors once they have developed a good mass of roots.
Care
Feed with a high nitrogen plant food ever couple of weeks to encourage leaf production and healthy growth.
The plants benefit from a mulch of wood chip or grass cuttings, which helps to keep moisture in the soil and suppress weeds. It’s a relatively thirsty plant so water regularly, especially though dry spells.
Indigo can struggle during cooler, wet and cloudy summers, some years it’s taken a long time to get going or I’ve only managed one harvest.
Harvesting and storage
The indican content is at it’s highest before the plant starts to develop flowers, so this is the best time to harvest leaves for dyeing. In late summer, cut the plants down to about 10-15cm from the ground. They will grow back quickly, giving you a chance for a second harvest in the Autumn.
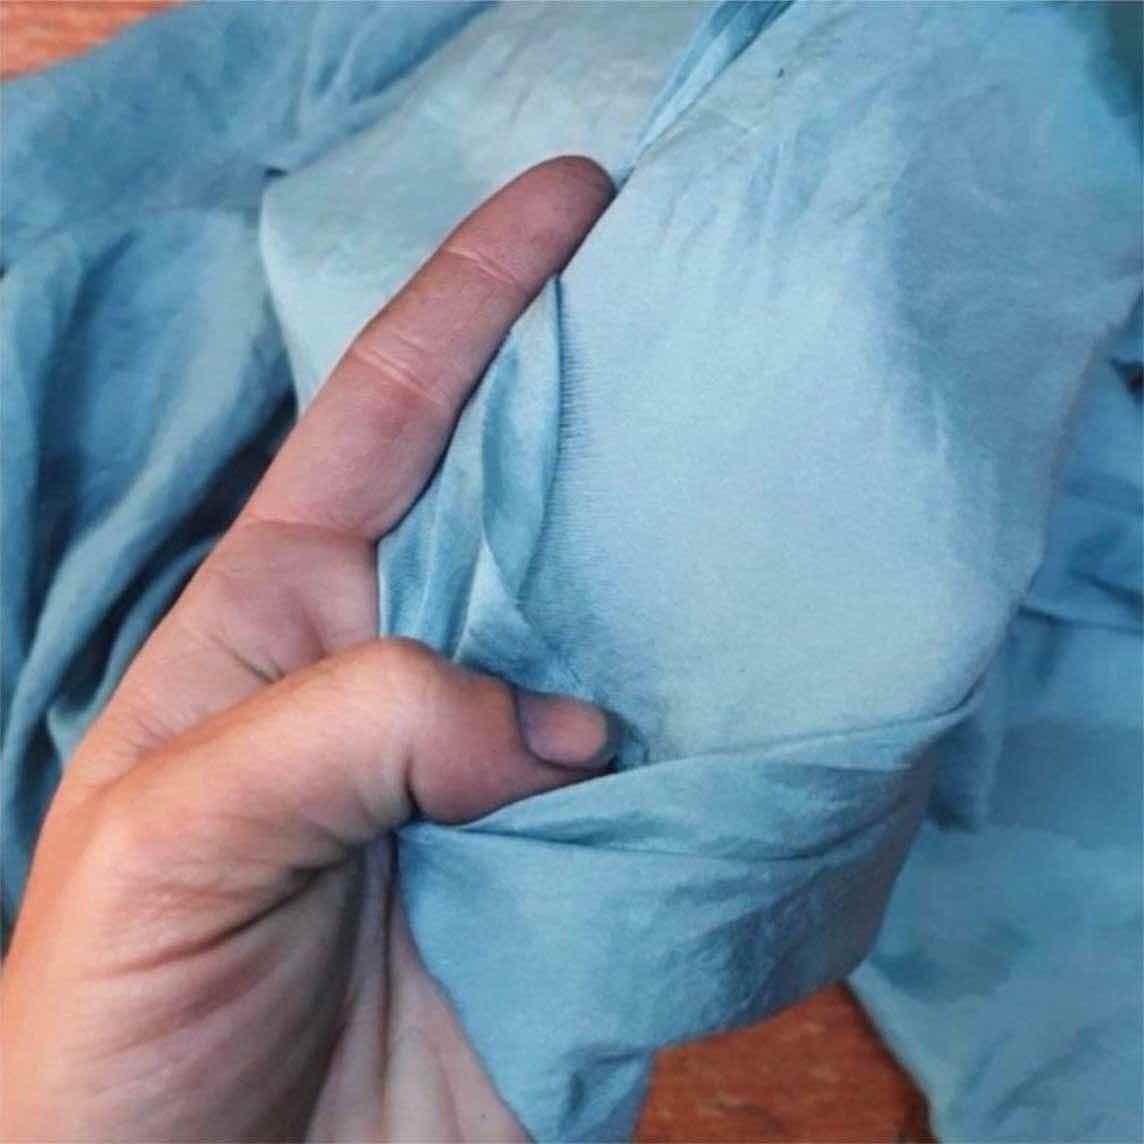
When harvesting Indigo leaves, work quickly and treat them with care. Strip the leaves from the stems, without crushing them, and place in a bucket of cold water.
You can dry the harvested leaves to store for later use, though fresh leaves give the strongest blues.
If you would like to store your indigo in a powder form, place your harvested indigo stems (there’s no need to remove them from the leaves) in a clear bucket or large clear container and fill with cold water. You’ll need to weigh the leaves down to ensure that they are all submerged - I usually use an old piece of crockery - and place a cover over your container to stop insects from getting in. Place somewhere warm, like a greenhouse, and wait. As the leaves ferment, the water will turn a red-brown colour with a coppery sheen, and take on a sweet compost-like smell. I find this usually takes around 3 days, but can vary depending on your climate.
When the leaves look ready (and before it starts to smell bad) strain out the liquid into another container through a fine sieve. Aerate the liquid using a hand blender, whisk or by simply pouring the liquid repeatedly back and forth from one container to another. With the introduction of oxygen the liquid will turn from bright turquoise to blue. Mixing a few teaspoonfuls of slaked lime (calcium hydroxide) at this stage raises the pH to make the liquid alkaline which aids the extraction - the ideal is around pH9. Continue to aerate the liquid, it can take some time but is well worth doing thoroughly as the more you aerate, the more indigo pigment you will get. Once the solution is a deep blue with a head of thick blue foam it is done.
The solution now needs to settle, so cover the container with a lid and leave it somewhere safe for a few days. Once all the sediment has sunk to the bottom the liquid will turn a pale clear tea colour - this liquid needs to be poured or siphoned off, while being careful not to disturb the sediment at the bottom. To safely dispose of the liquid, add vinegar to bring the pH towards pH6. You may find it easier to transfer the liquid and sediment to a smaller vessel once most of the liquid has been removed, not forgetting to let it settle again before removing more liquid. When you have removed as much of the liquid as possible, the remaining sediment needs to dry out. I use a paper coffee filter over a jar, which I pour all the sediment into then leave for the liquid to strain through or evaporate, or you could use a tray covered in greaseproof paper. Once the indigo has dried out completely, transfer in into a pestle and mortar and crush into a fine powder. Store your home made batch of indigo powder in an airtight jar.
Dyeing
The fresh leaf salt rub method is well worth trying as it is so simple and the results are almost immediate.
You can also use ice to dye.
There are many different types of vats you can try which use indigo powder. I will write up my favourite methods on another post and add a link here.
For more detailed information on growing and dyeing with Indigo, check out the fab Indigo book by Kerstin Neumuller and Douglas Luhanko.